Using The Availability Screen
Using the availability screen effectively is very important to being efficient and helpful to the customer. The availability screen in the GUI system has many more features and functions than that of the standard legacy interface. This will show you some of the most important functions of the screen and how you can be effective with it.
Main Screen
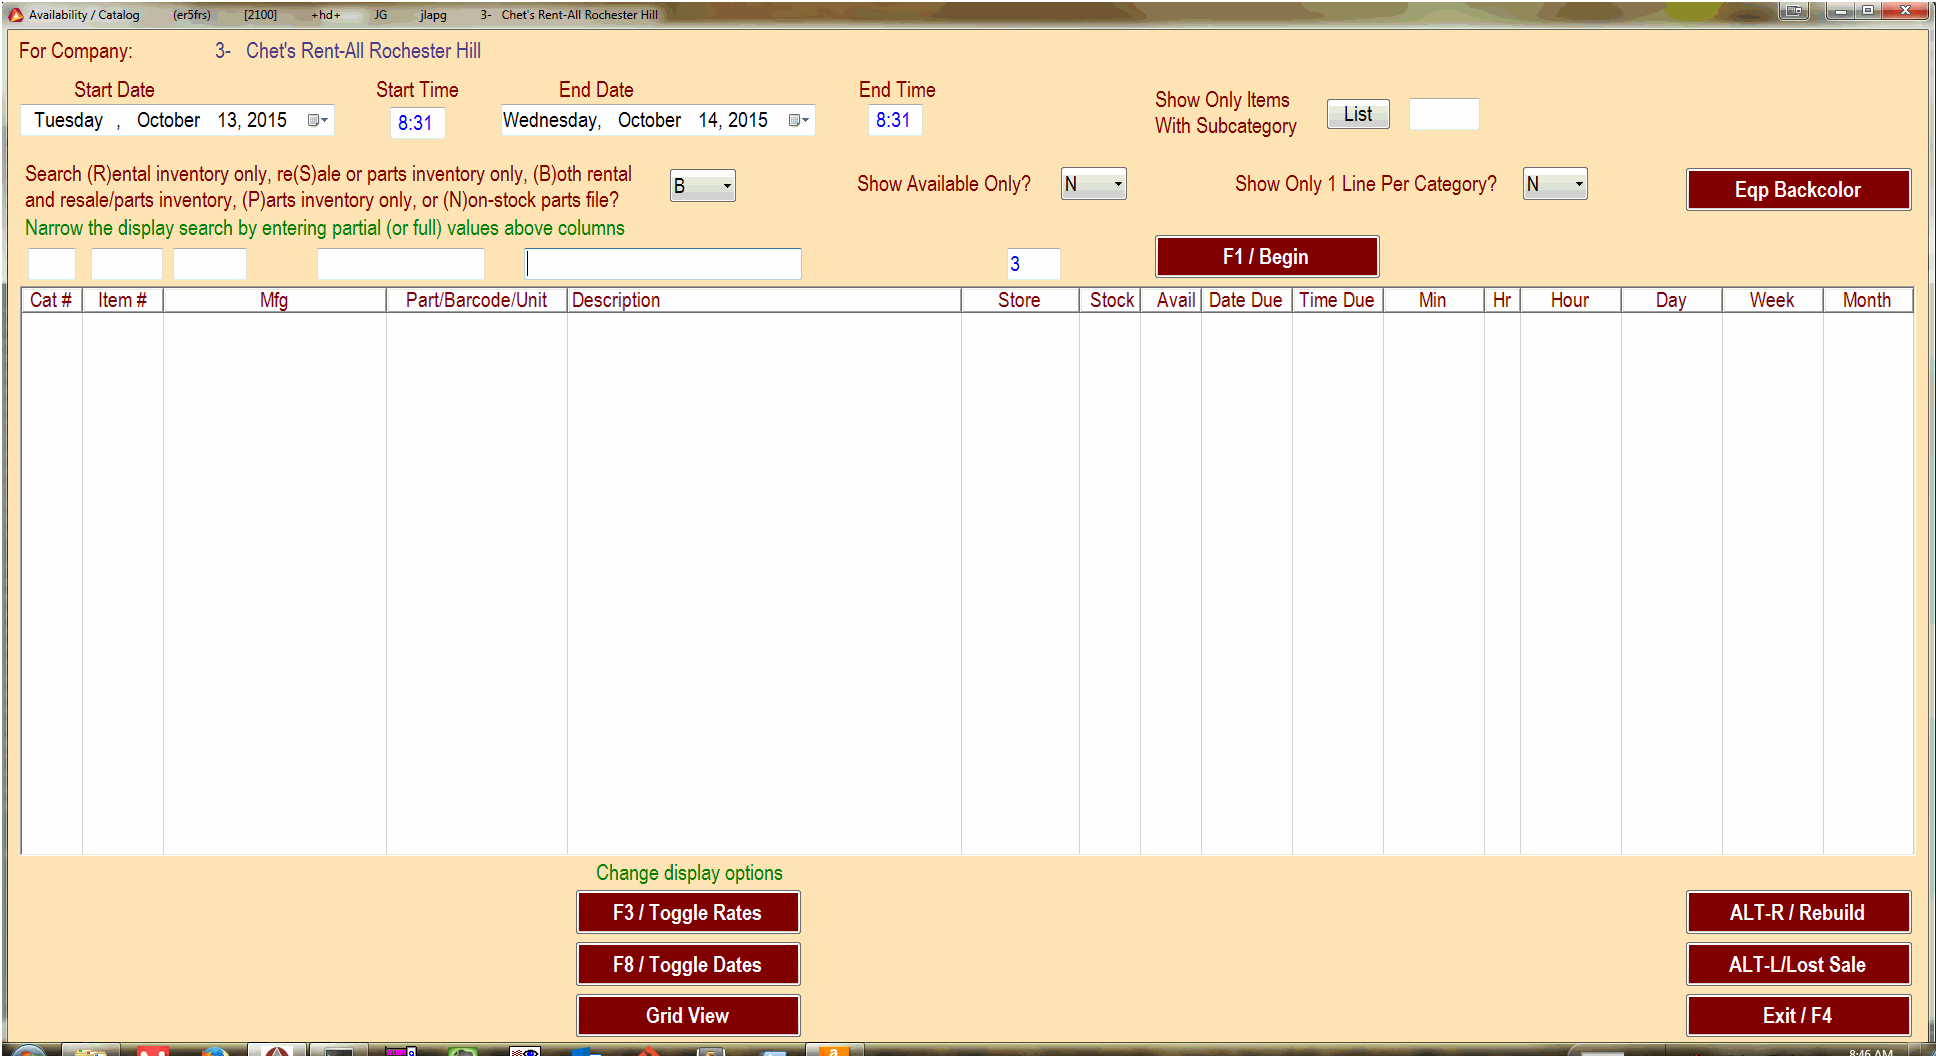
This is the screen that initially comes up from the Main Menu option 3. It starts with the current date for a start date and defaults to one day later for an end date. This screen also defaults to showing both rental and resale/parts but if you change that setting it will keep that setting if you exit and come back into it. Any of the blank fields are search-able input fields and can be combined to finely search for the exact item that you want.
Searching
Searching for the right equipment can mean the difference between getting a rental and having the customer call another company. developing skills to search in the most effective manner is key to customer service. Each of these fields can be used to finely tune your results.

The most used search field is the description. If you are looking up an item you can type its name in the field above description. One of the problems with just using the description is that it will only search the 1st word in the description. If we are looking for a painters pick, it is listed in our system as a Pick Painters 12” x 20’. If you search for pick it will come up
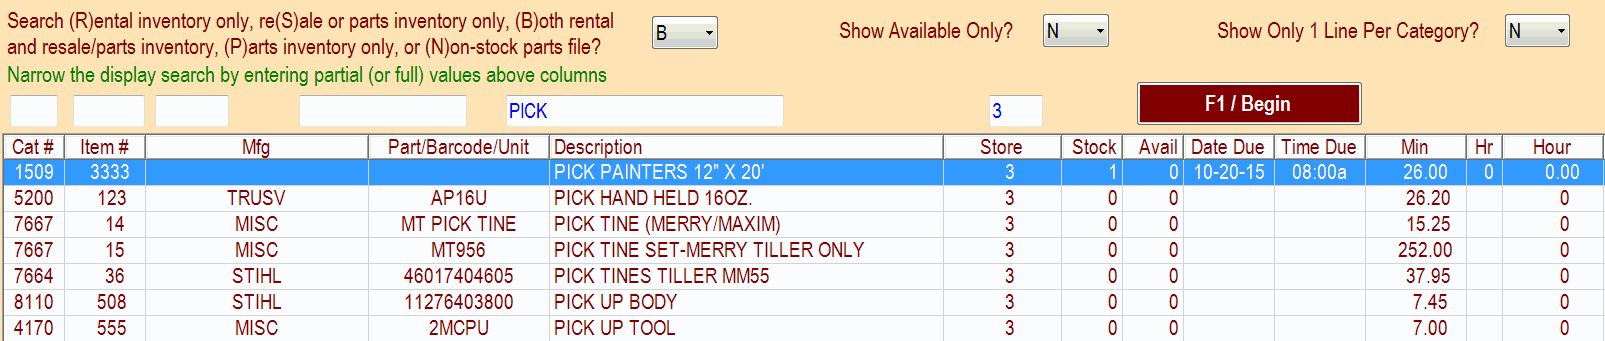
If you just put painters it will only show Painters Tape 2” which is not what you are looking for.

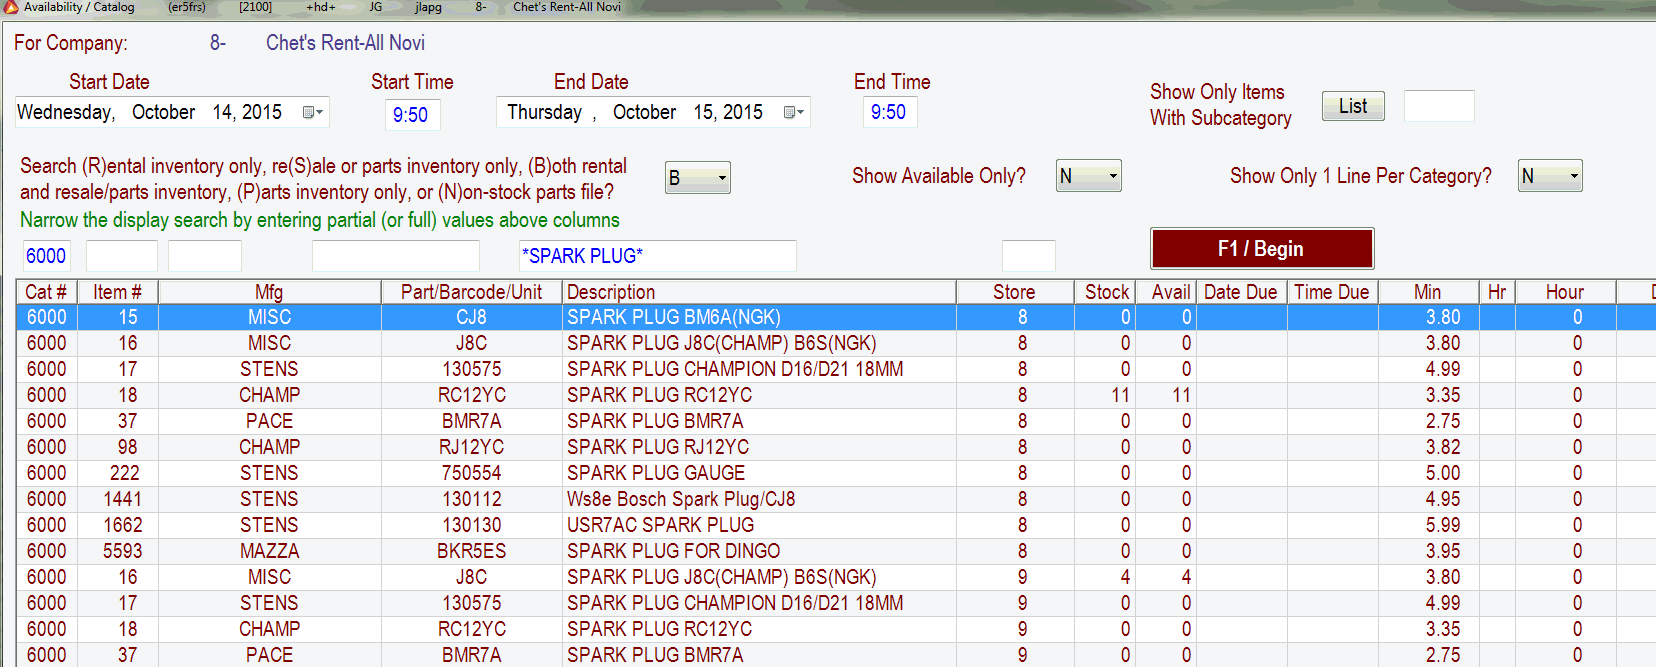
if you are unsure if a word is in the description you can enclose it in * symbols. Using *painters* will show all items with painters anywhere in the description. these * are called wildcards and using them will greatly enhance your searching abilities.

You can also search using multiple search criteria. Sometimes there are many items that are listed under a specific category number. If you look at category 6000, there are thousands of items in that category. If you want to find just the sparkplugs listed in category 6000 you can chain the 2 search terms together.
Item Details
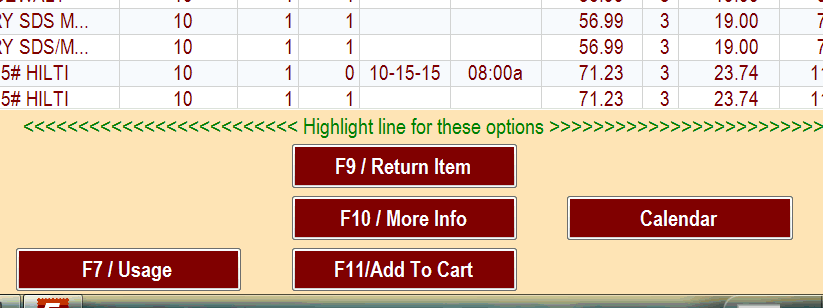
Key information about each item is stored in each items detail screen. In addition to the price and description info that is listed on the main availability screen, there are also various detail screens. Pushing the F10/More Info button will open up details about that item.
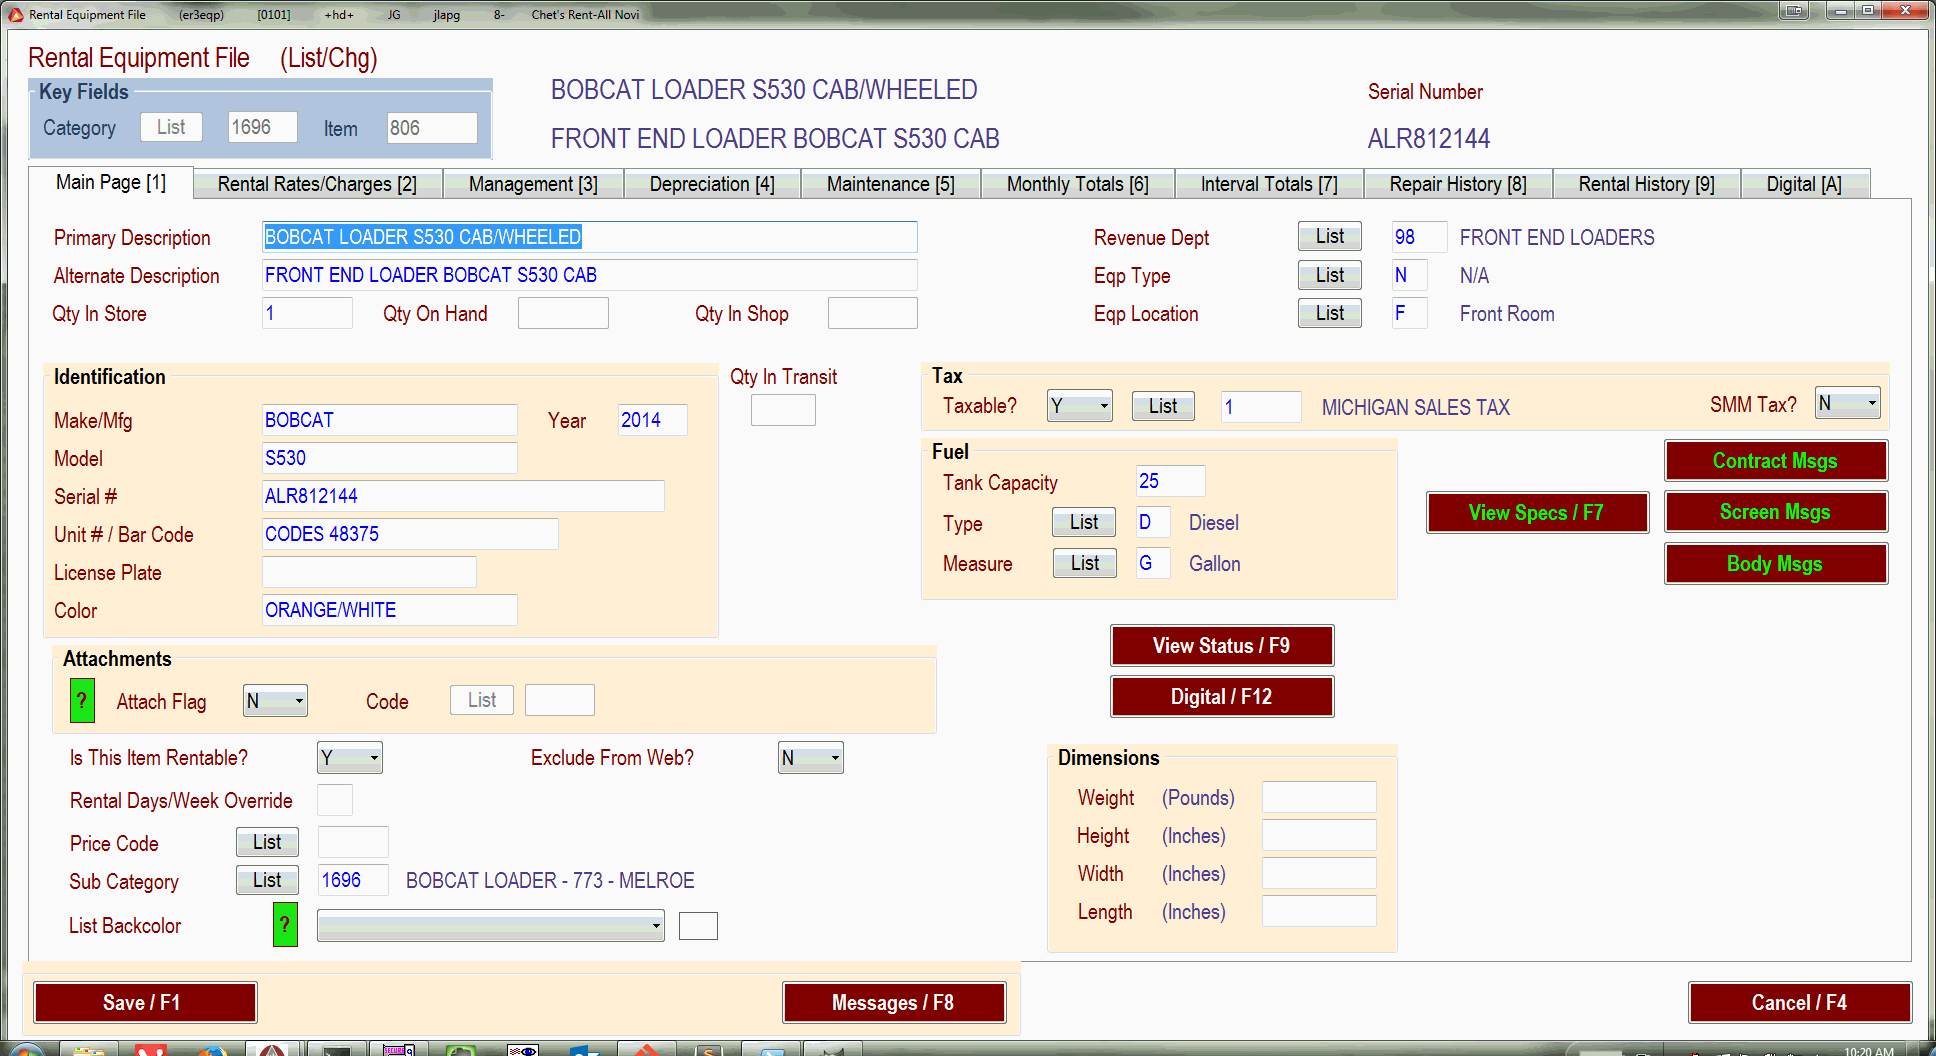
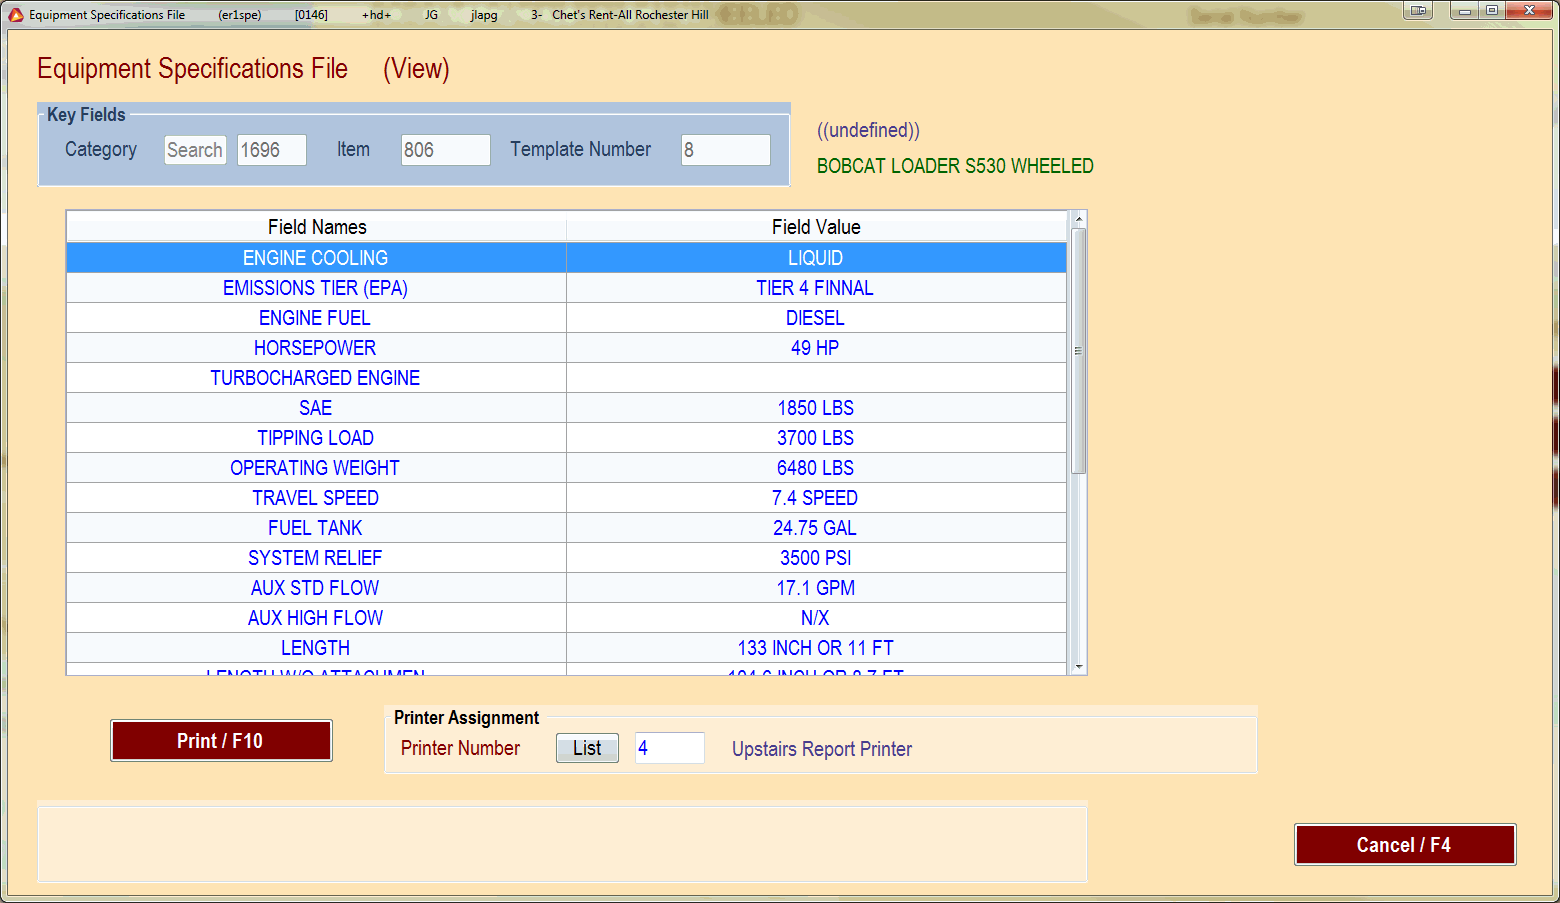
Pushing the View Specs / F7 button will give you the available specs on the item. You can also print these specs out for future reference. Every item does not have this info available but you can have it added. Gather the most important specs for the item and email them over to equipment@chetsrentall.com .
Using The Cart
One of the most useful features of the availability screen is the Cart. You can add items from the screen to the cart and jump right to the order processing page to add a new contract, reservation, or quote.
Clicking on F11/Add To Cart will queue items for processing. Once an item is added to the cart 2 new buttons will become available. The View Cart button will also show you how many items are in the cart. The number in the () is how many items in the cart. Clicking View Cart will show what is in the cart.
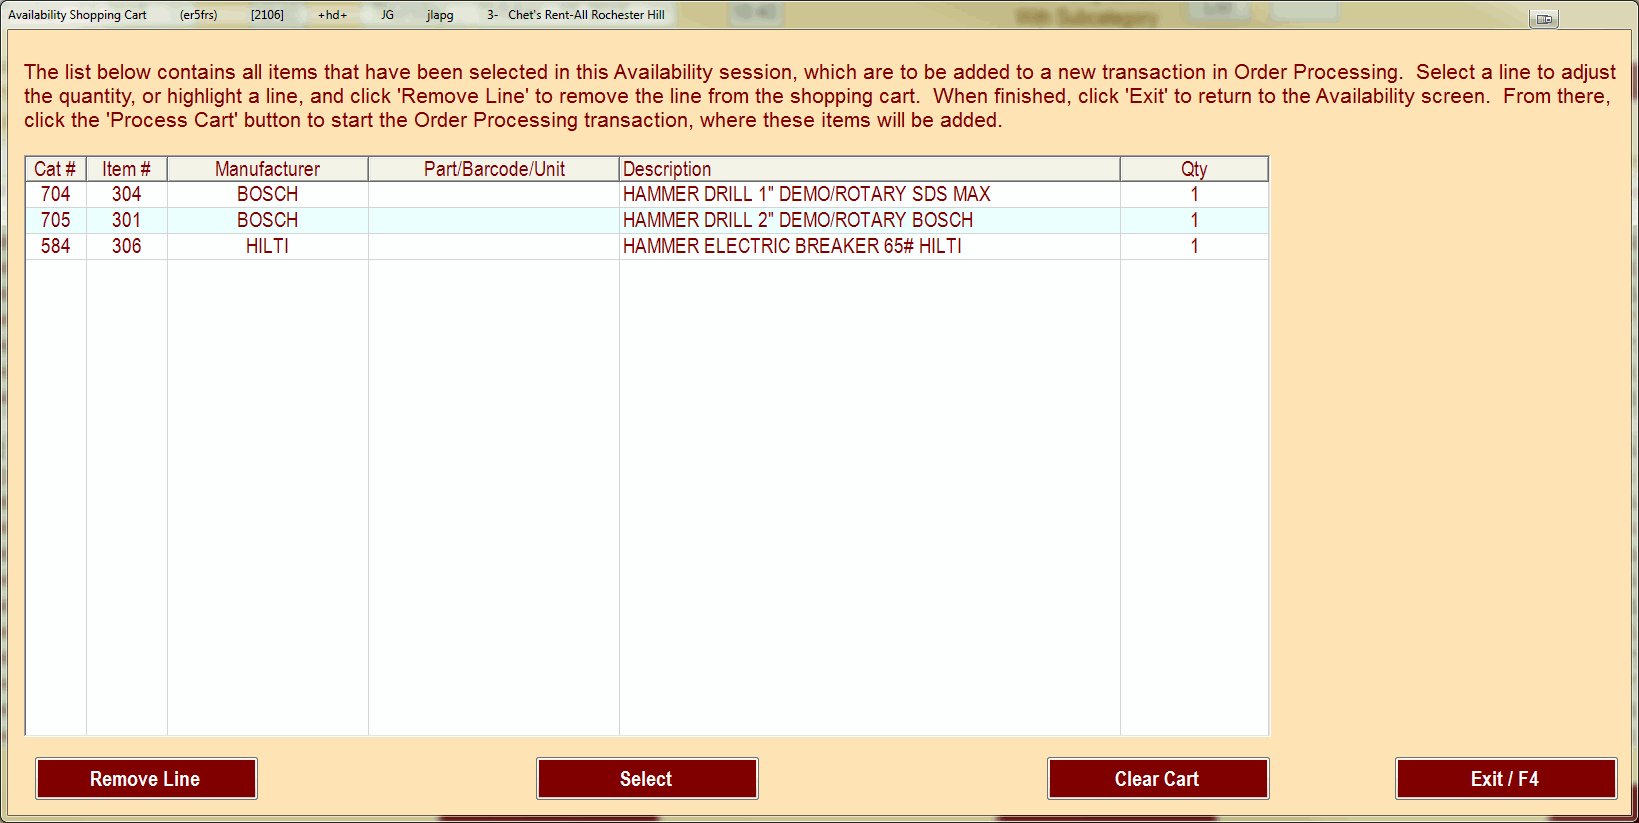
In that screen you can remove items from the cart, or clear the whole cart. After you have the items needed, the F2 / Process Cart button will take you to the order processing screen.
Miscellaneous
There are a few other interesting features that can be useful from this page. You can start a return on an item from the page. Search for the item, select it from the list and press F9 / Return Item. You can add a lost sale by pressing the ALT-L / Lost Sale button. The Calendar button can be very useful for items that have a lot of movement. It will show you the item status over the next month.