Basic Order Entry
Theses are the basic steps for creating a contract or reservation for a customer.
Customer Selection / Adding Customers
From the main menu, select option 2 - Order Processing. Input your employee id and select the transaction type. Selecting either Contract or Reservation will work for this tutorial. The system will default to the Customer Lookup page. From here you can search by several different criteria.
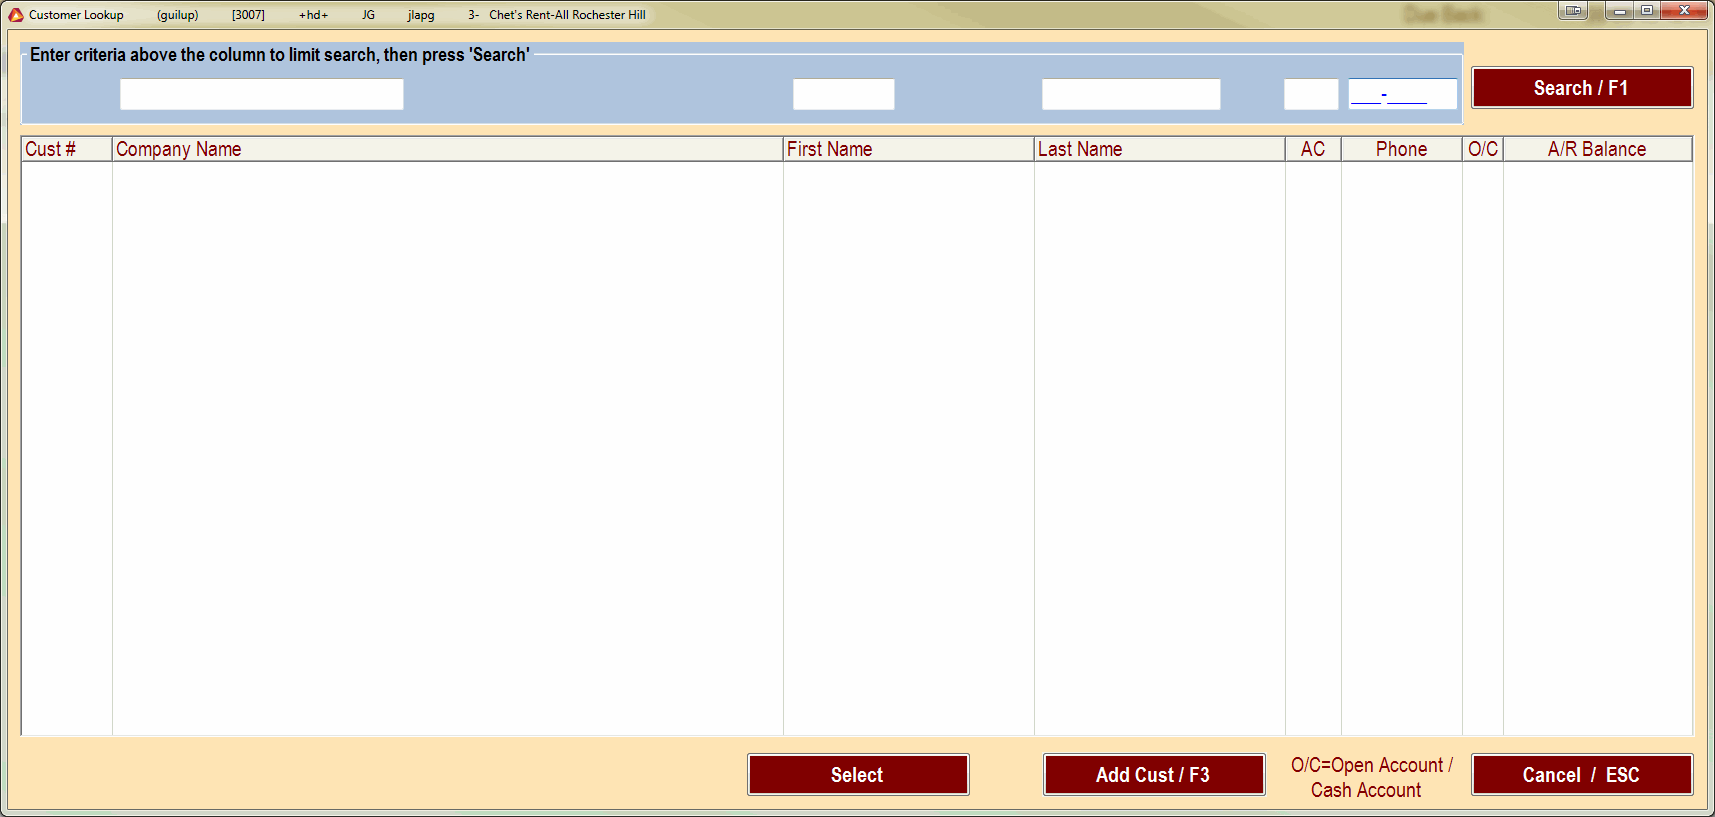
Note
If the customer has never rented here before, you must add a new customer. See Adding Customers
Input the search criteria, and press the search button or press F1 on your keyboard. This should give you a listing of customers that match the search criteria that was entered.
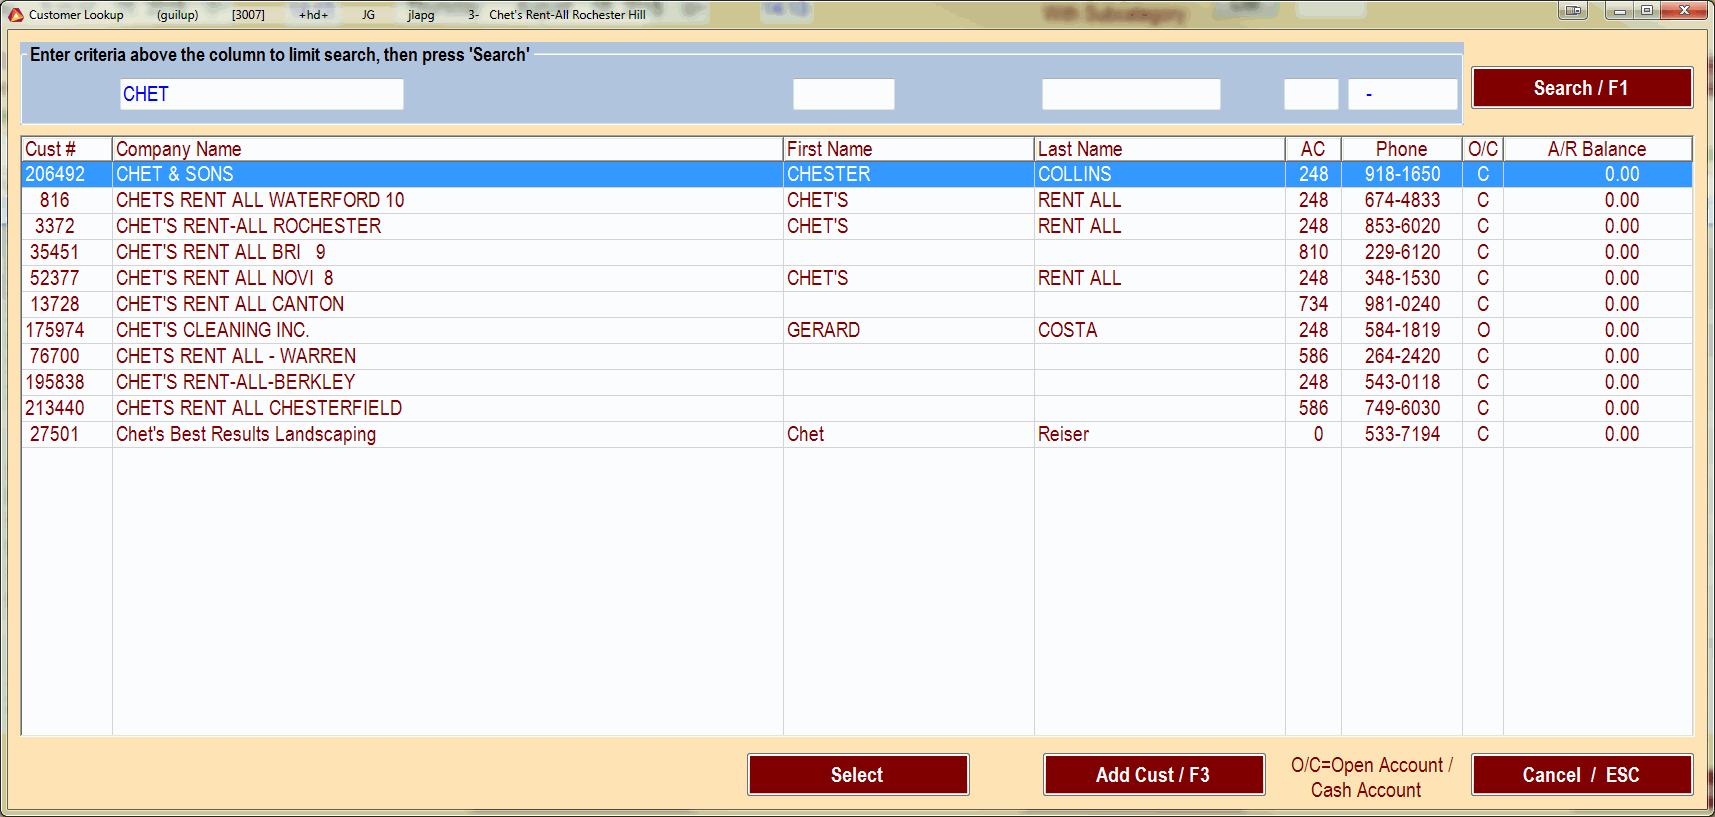
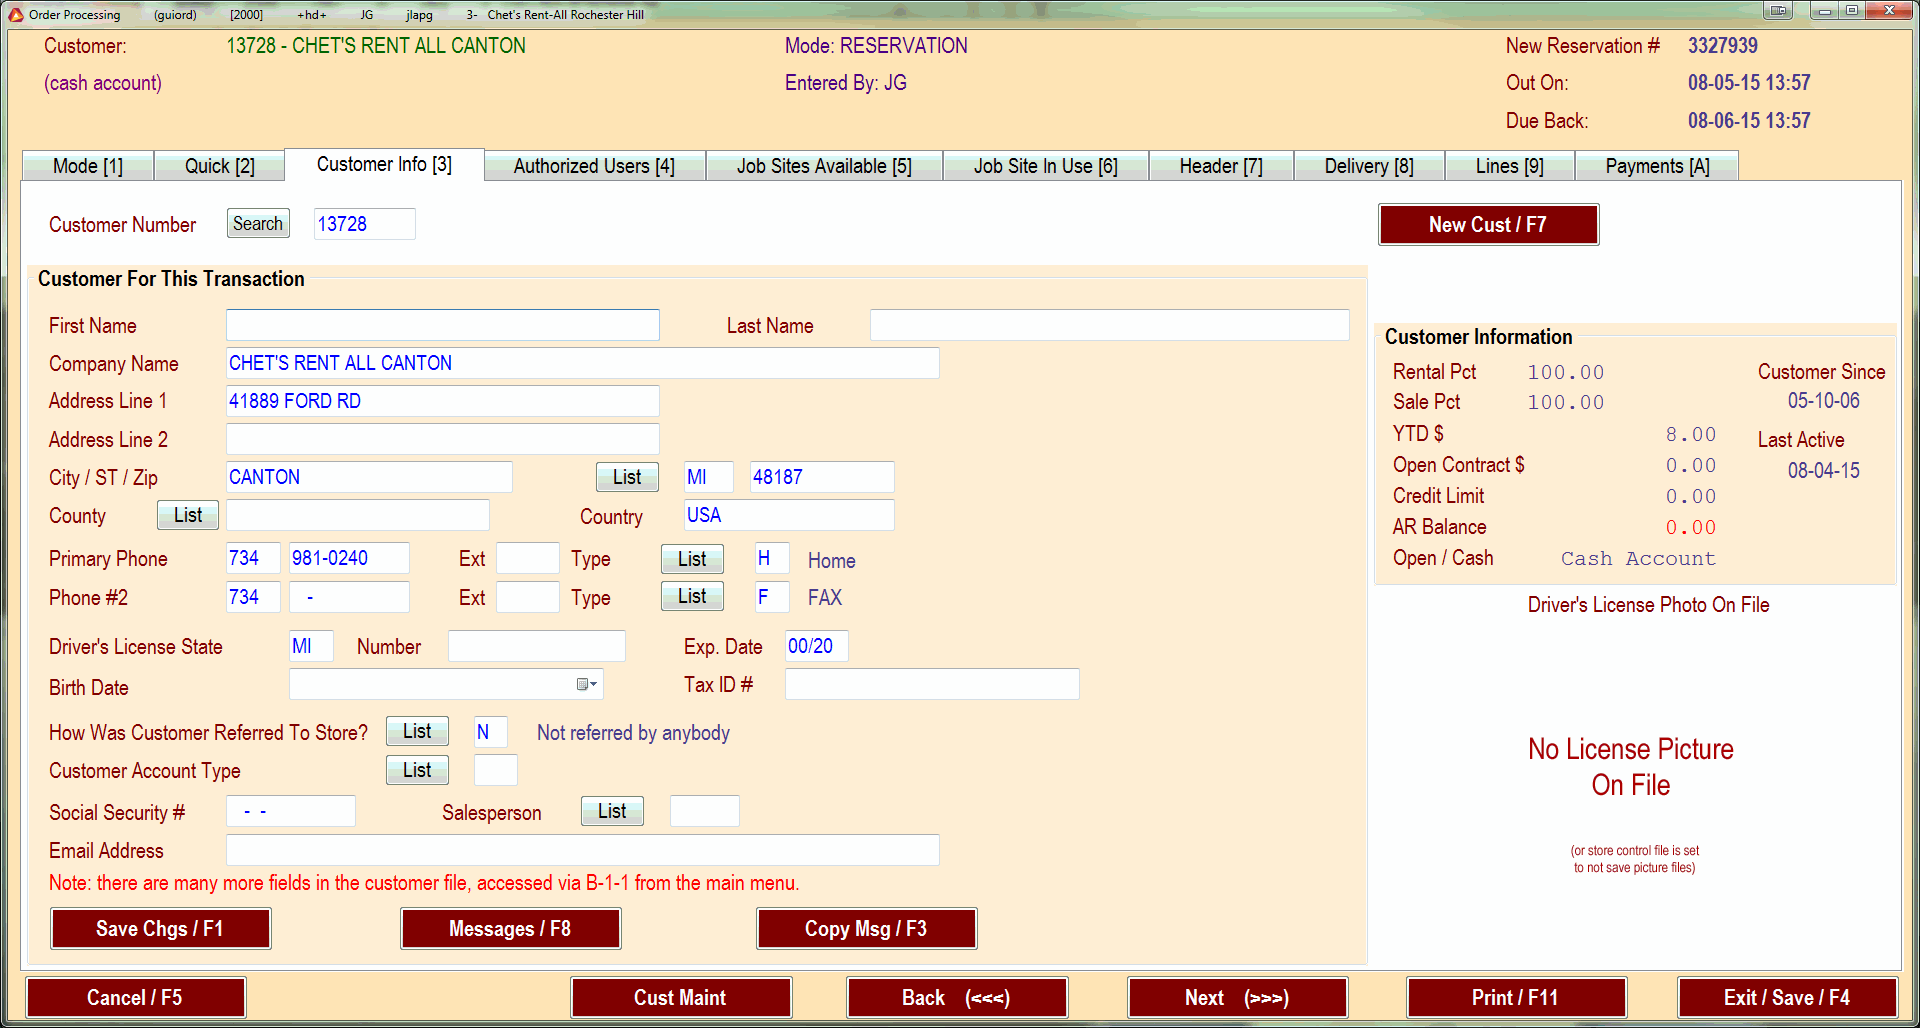
Highlight the desired customer and press select or press enter. This will bring you to the customer info page of the order. Verify the details here before proceeding. If you make any changes, be sure to save them. They will not automatically save if you change to another tab.
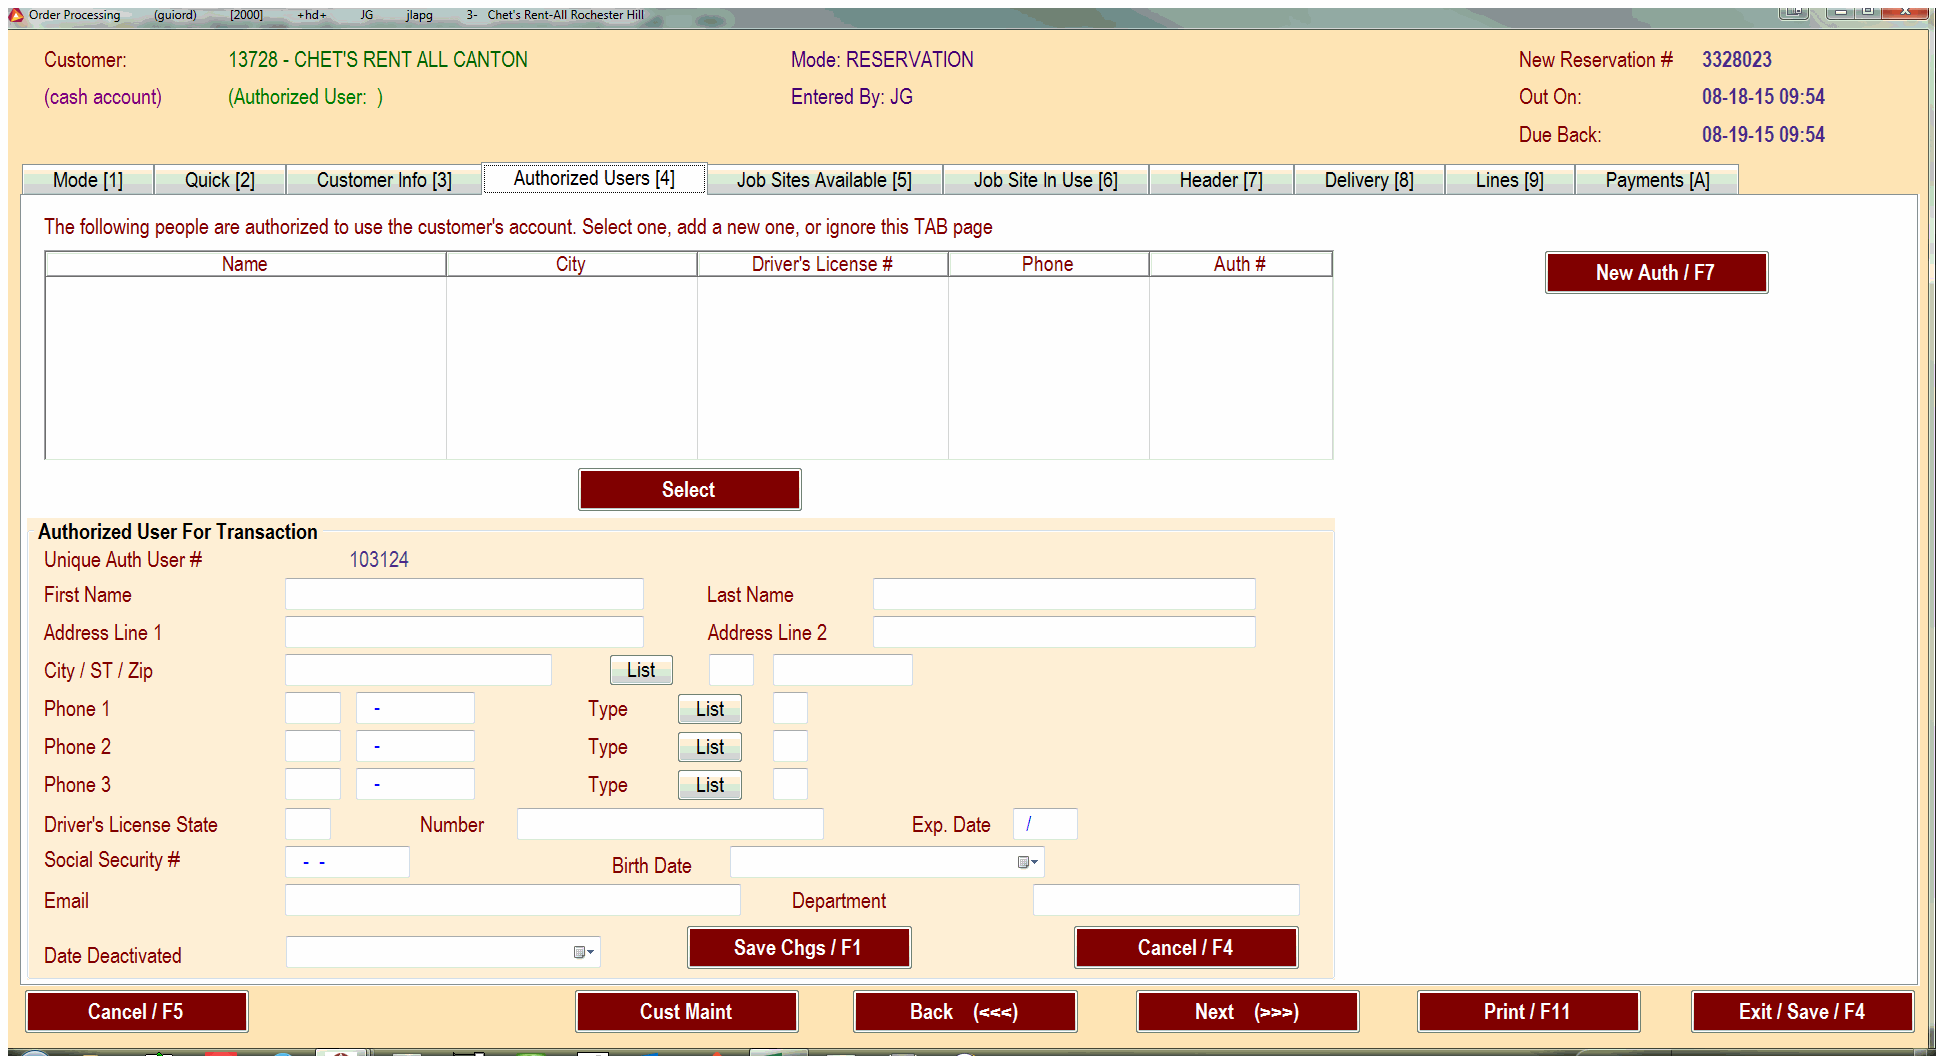
Authorized Users
Many of our Account customers have authorized users. Those customers need to know who is renting items on their account. Check the authorized users page and see if the customer is listed on it. Some customers allow you to add new authorized users and some do not. If the person at the counter is not listed, attempt to add them by pressing the New Auth / F7 button.
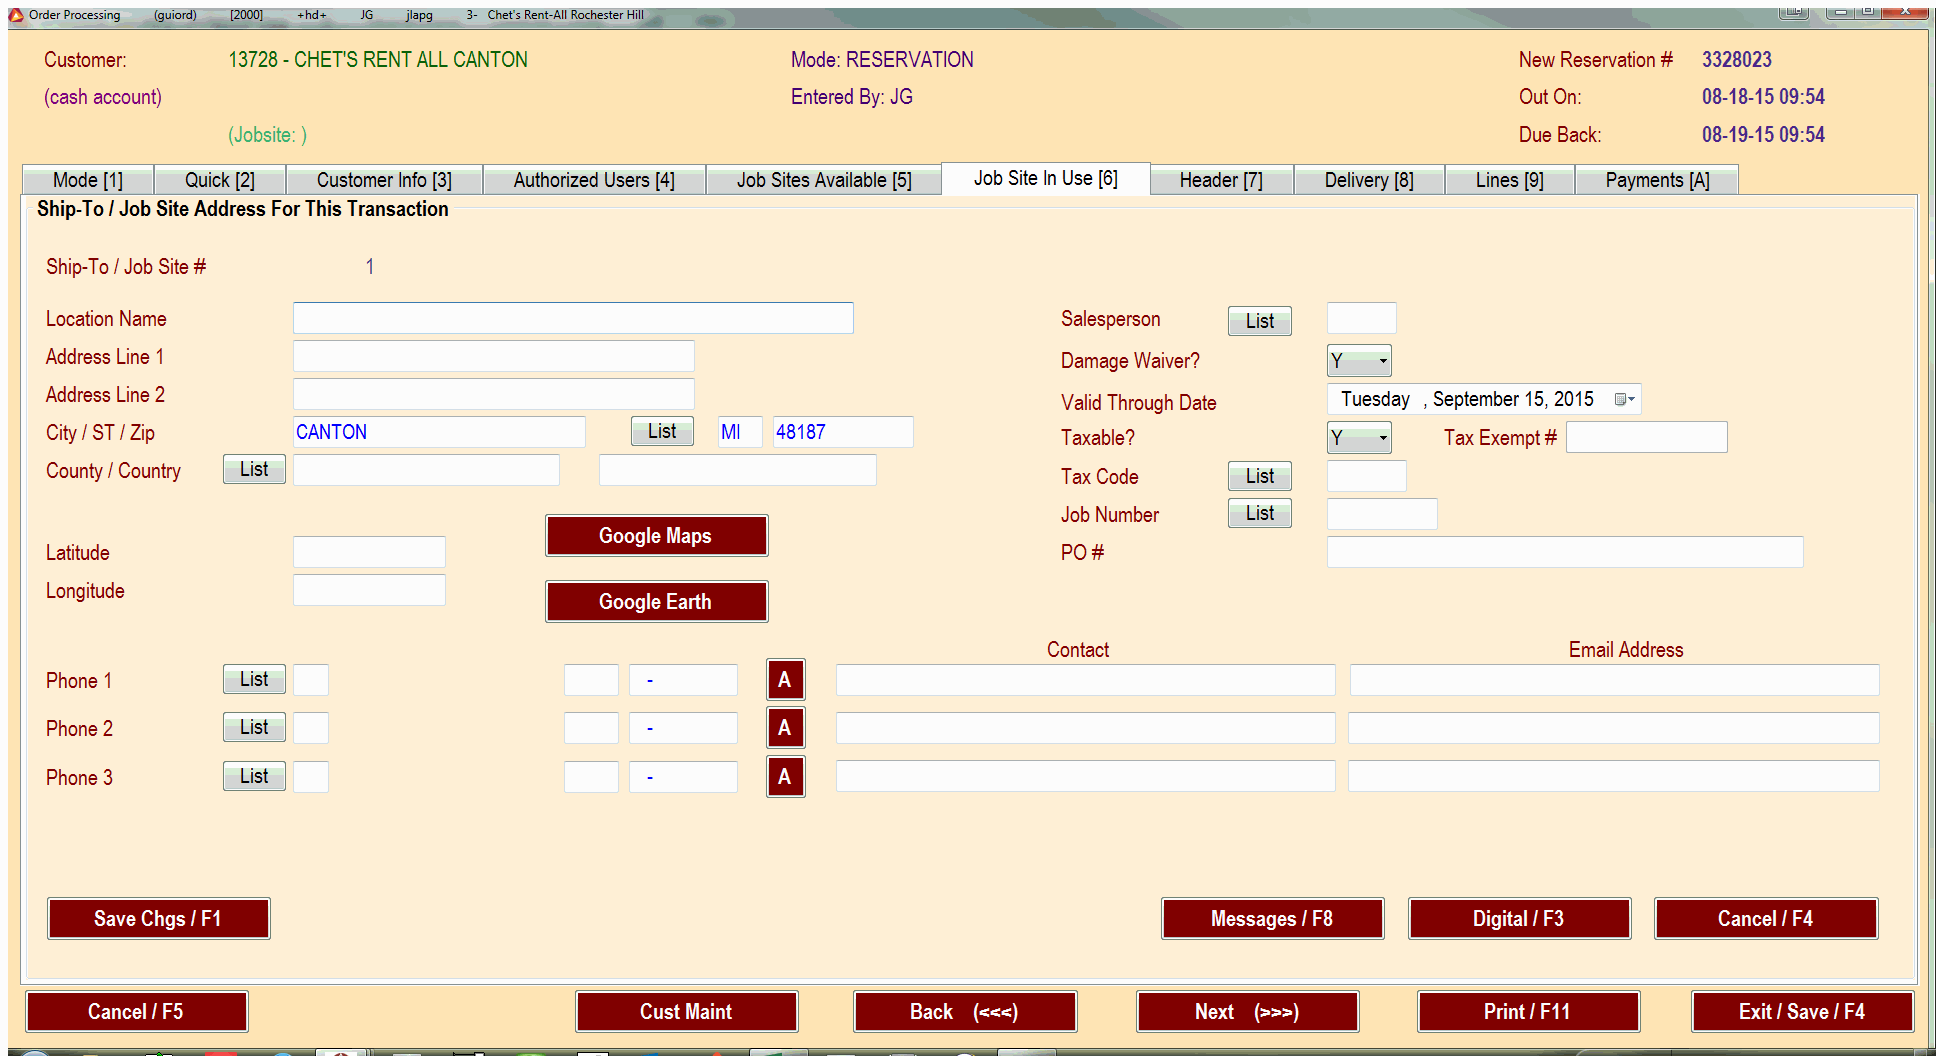
Job Addresses
Some customers also need a jobsite address listed. You can select/add a job site address in the Job Sites Available tab. If a new one is needed press the New Ship / F7 button and add in the required items.
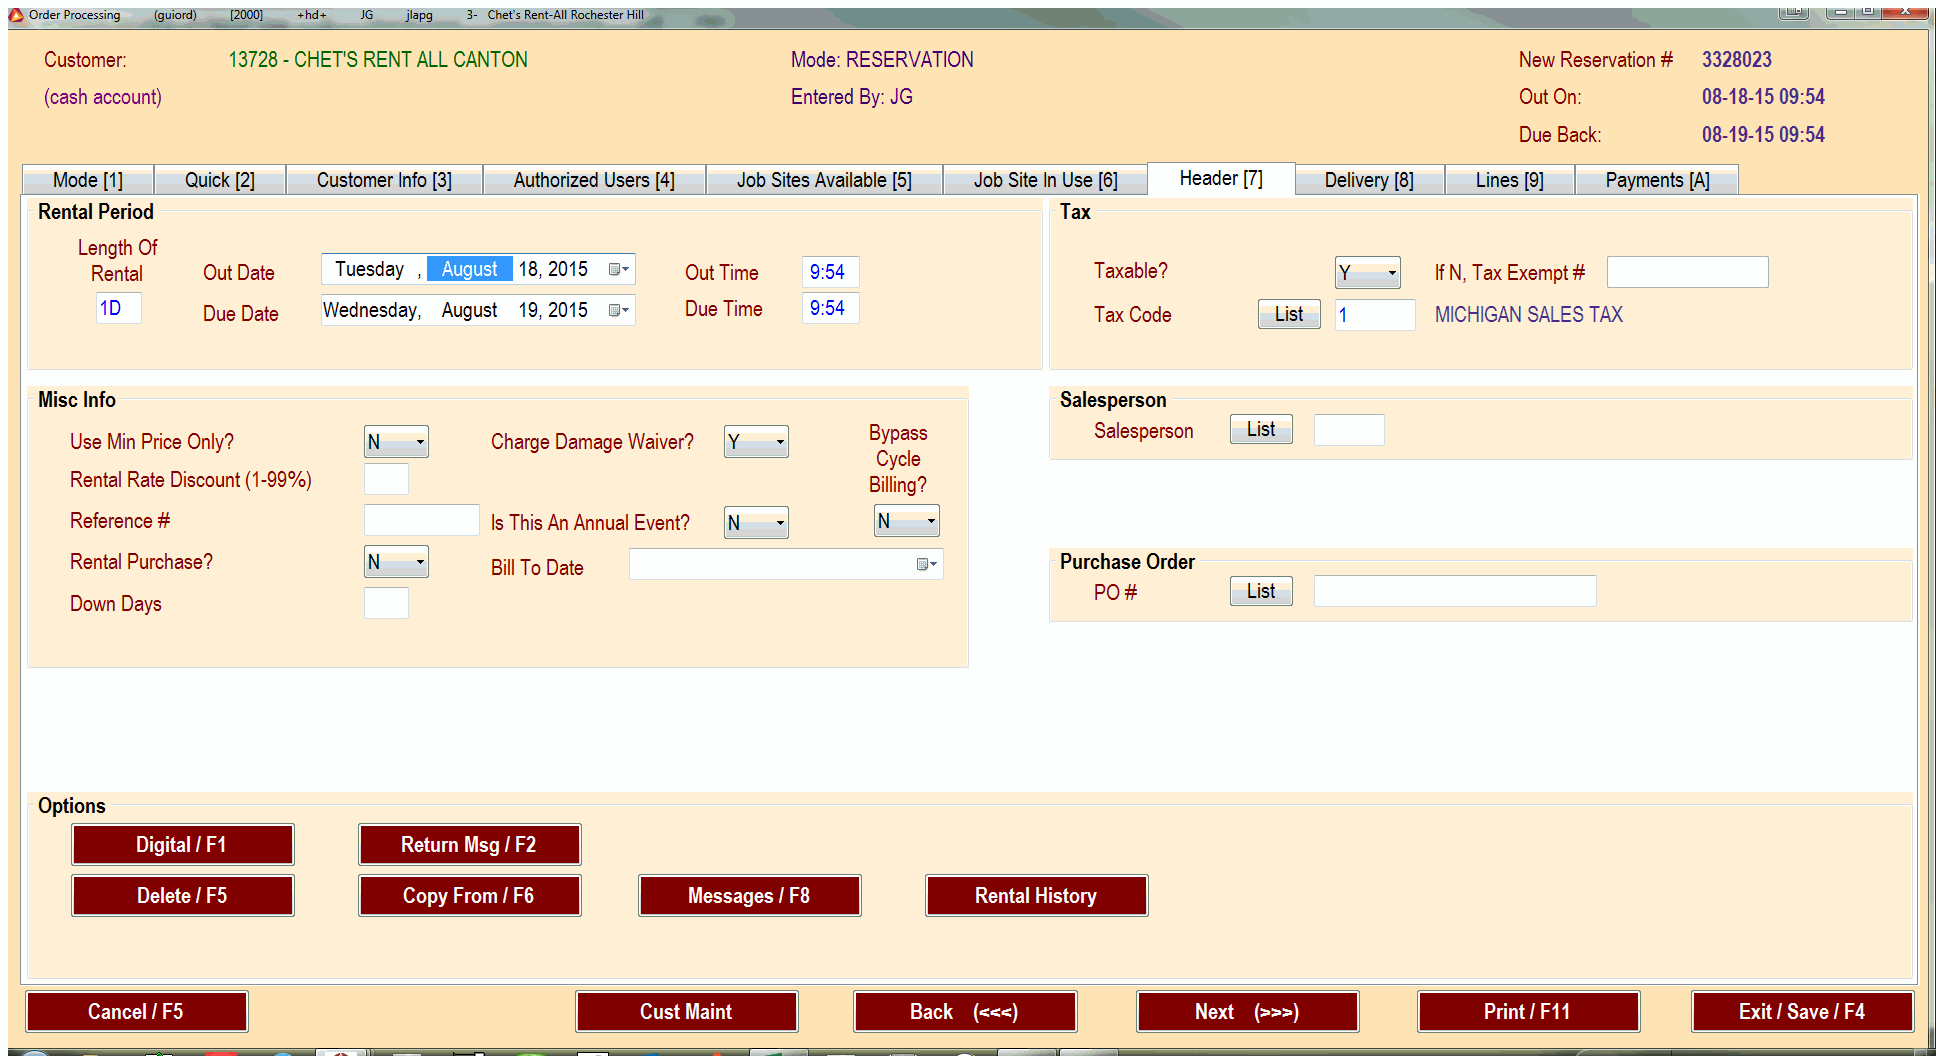
Contract Header
The Header tab is where you set the length of the rental, tax exempt status, and other miscellaneous options. Some customers require a PO# for their orders, you would put that info in on this page. For the rental period, select the appropriate dates and times. Verify that the return time is set correct. This can be very important when going over the rental rates at the end of the rental. You can also look up the rental history or any customer messages for the customer on this page.
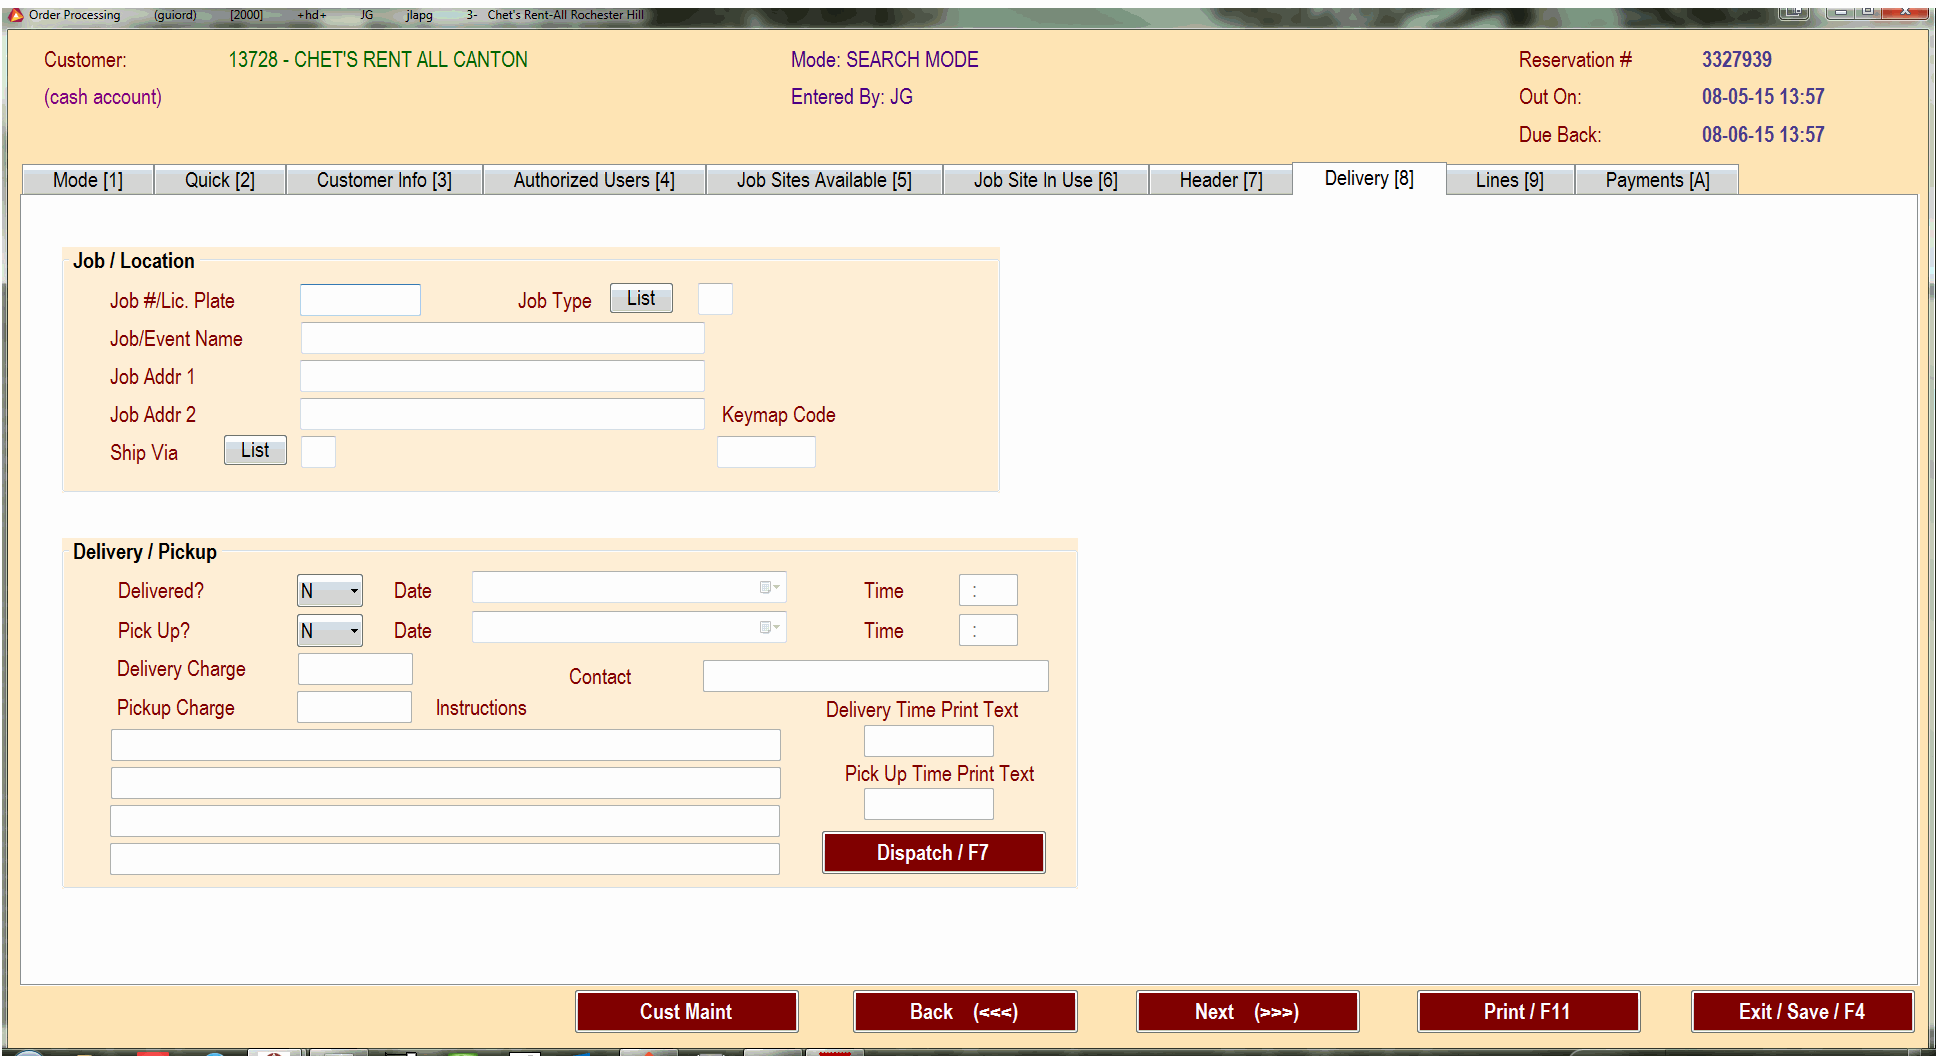
Deliveries and Job Numbers
The Delivery tab will is where you add delivery info. Some customers require a Job Number, this is where you will put that info in. The address should be put in the Job Addr feilds. This will allow you to use the built in map functions if they are needed. Change the Delivered? and Pick Up? flags to their appropriate values. Put in the dates and times for the delivery/pick up. Put the costs in the Delivery Charge/Pickup Charge fields. In the 4 empty lines you can add any special instructions. This is a good place to put contact info for the person who will be on site. You can also add the delivery to dispatch with the Dispatch button. See Using Dispatch
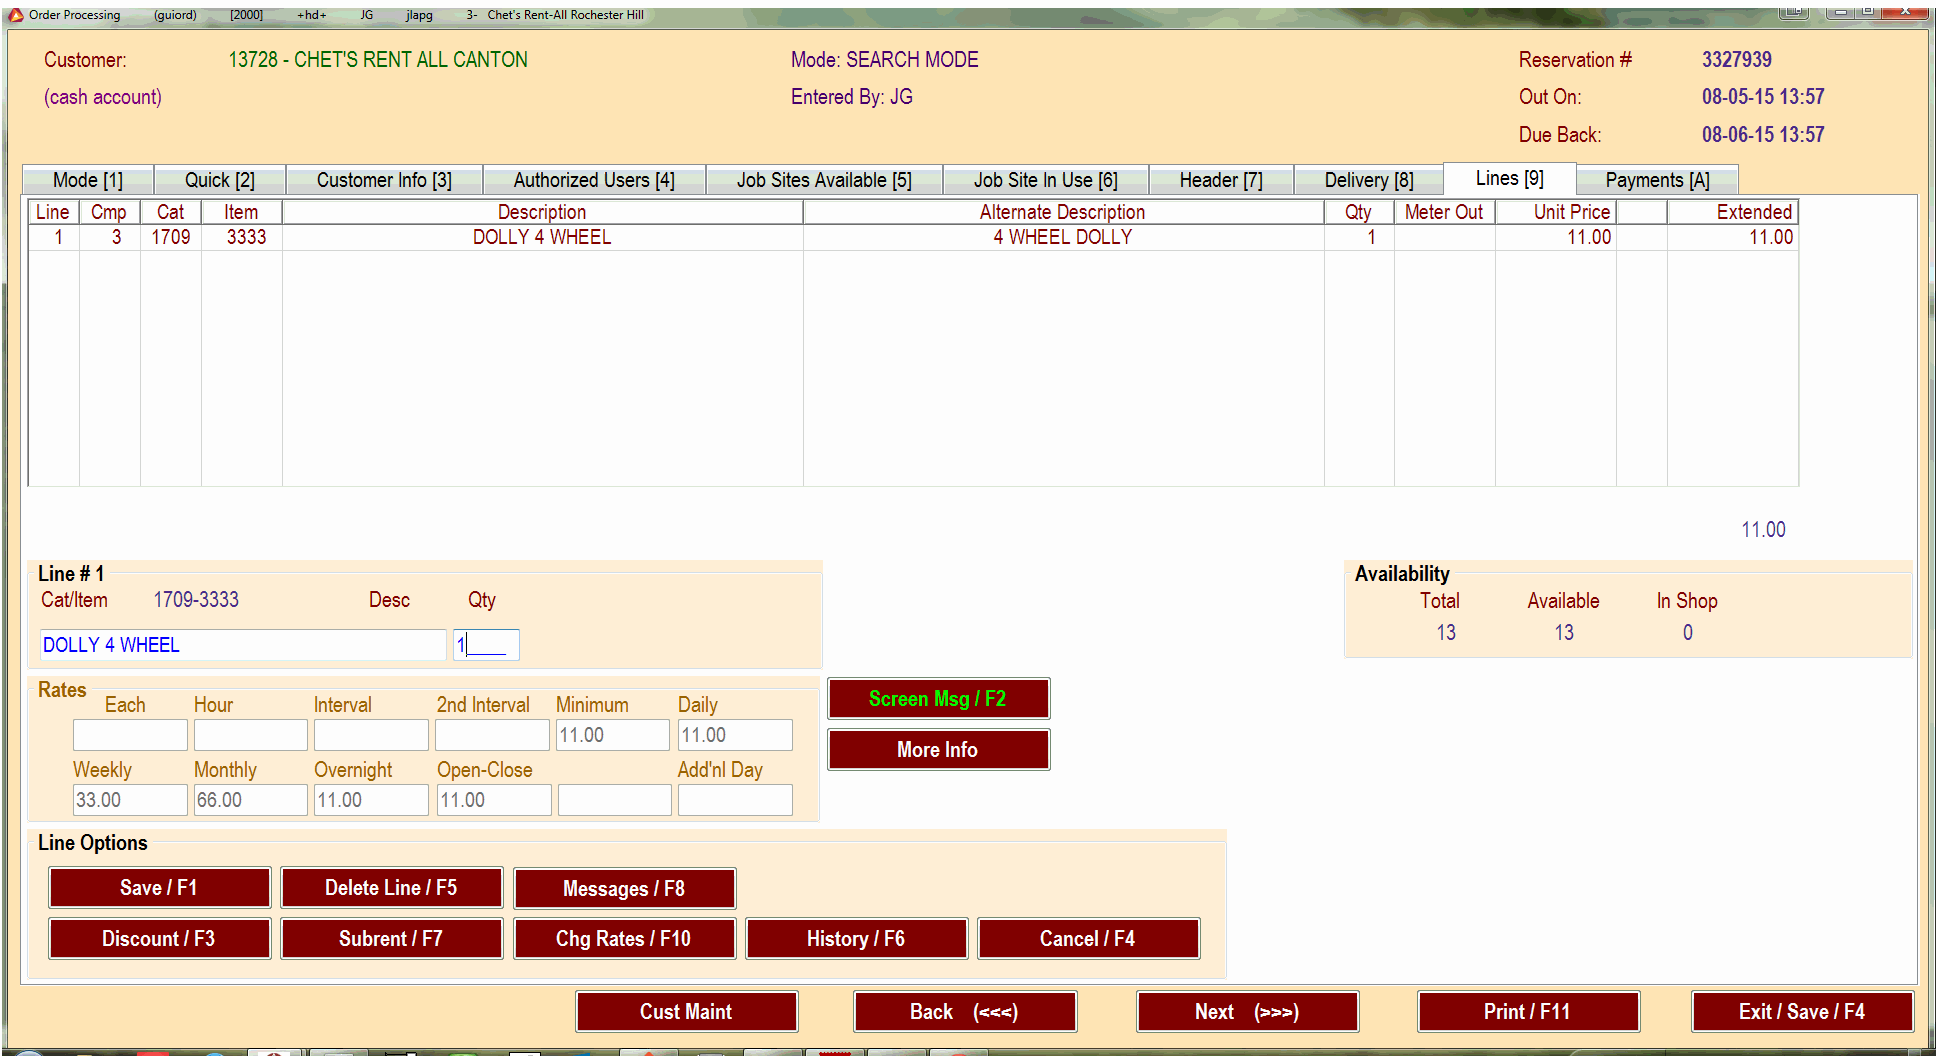
Adding Rental Items
The Lines tab is where you add rental and resale items. When you 1st go to the Lines tab it will bring up a search window to search for rental items.
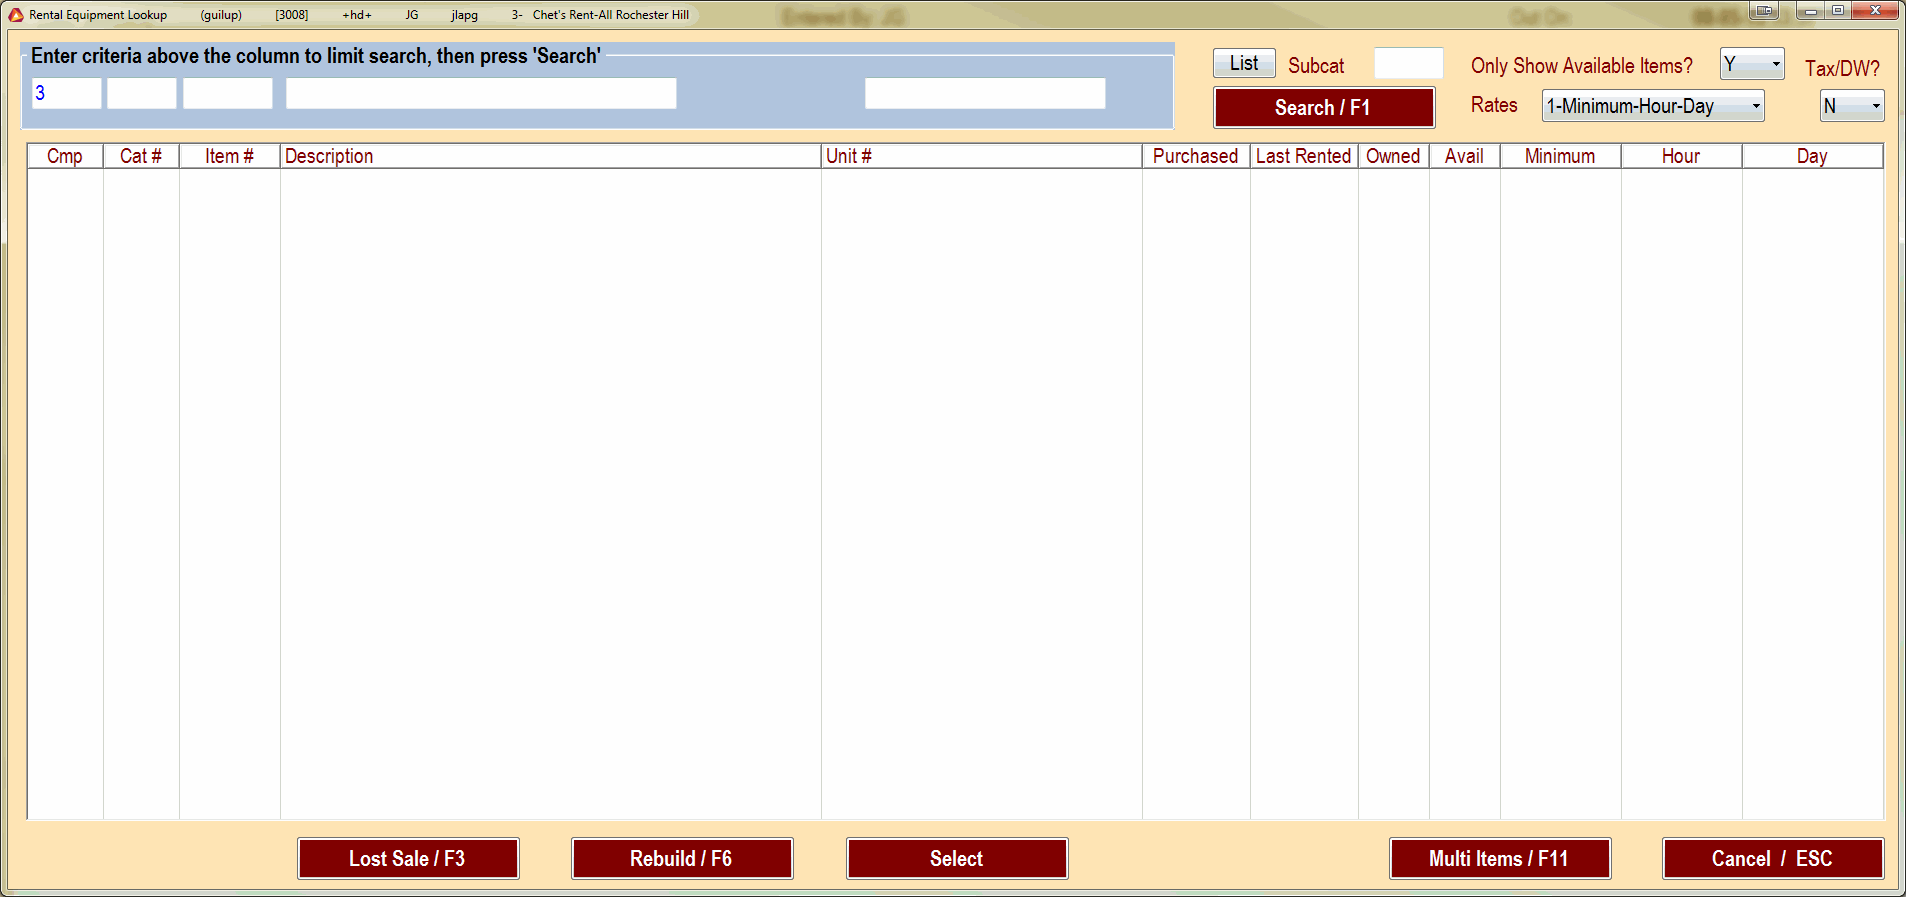
You can search for items in the same manner as you would with the Availability screen (see Using The Availability Screen). Input the search criteria and press the Search button. Click on the desired item and press the Select button or double-click the desired item in the list. This will give you a detail window for the item where you can adjust details or add contract messages. This is where you would input quantity needed, change rates, or delete an item. Once you are satisfied with the details click the Save button. You will be put back to the search page to search for another item. When you are all finished adding items, click the Cancel button on the search page.
Payments and Printing
All customers who do not have an open account with us must leave a deposit. On the Payments tab you can add your deposits, or process payments for resale items.
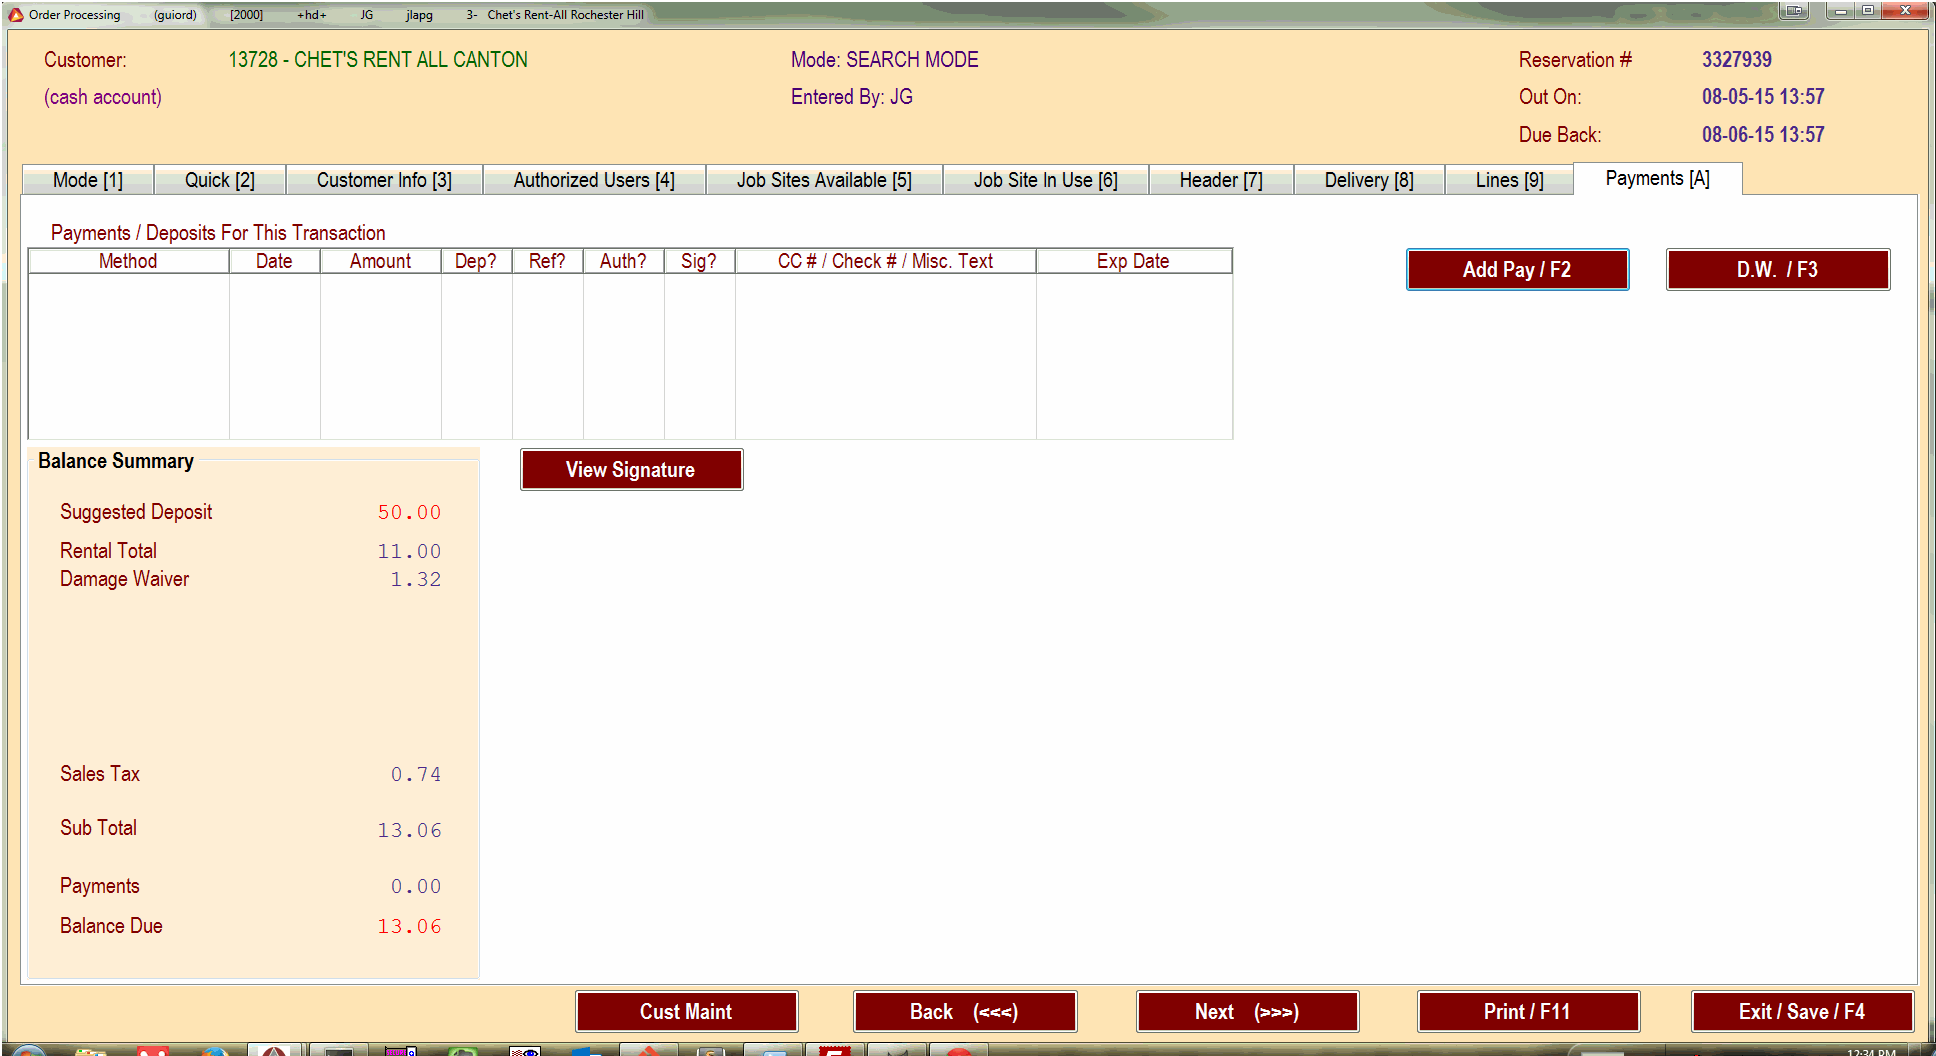
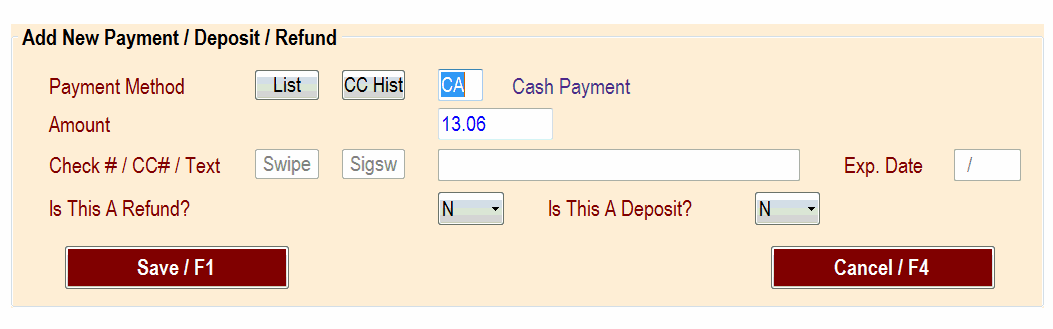
Click the Add Pay button to enter in the details of the payment. You can also add coupons or Chet’s Bucks Rewards here as well. If the payment type is a credit card, make sure that the Exp. Date. Make sure that the refund and deposit flags are set correct. These two fields will default to whatever the last payment was. Click the Save button after you have entered the deposit info.
Now you can print the contract to have the customer to sign. Press the Print button. This will bring up a window where you can select the number of copies, the printer to send it to, or the option to create a pdf. The system will fill in the defaults that are set for your location but you can override them if needed. Press the Print button when you are satisfied with the options.
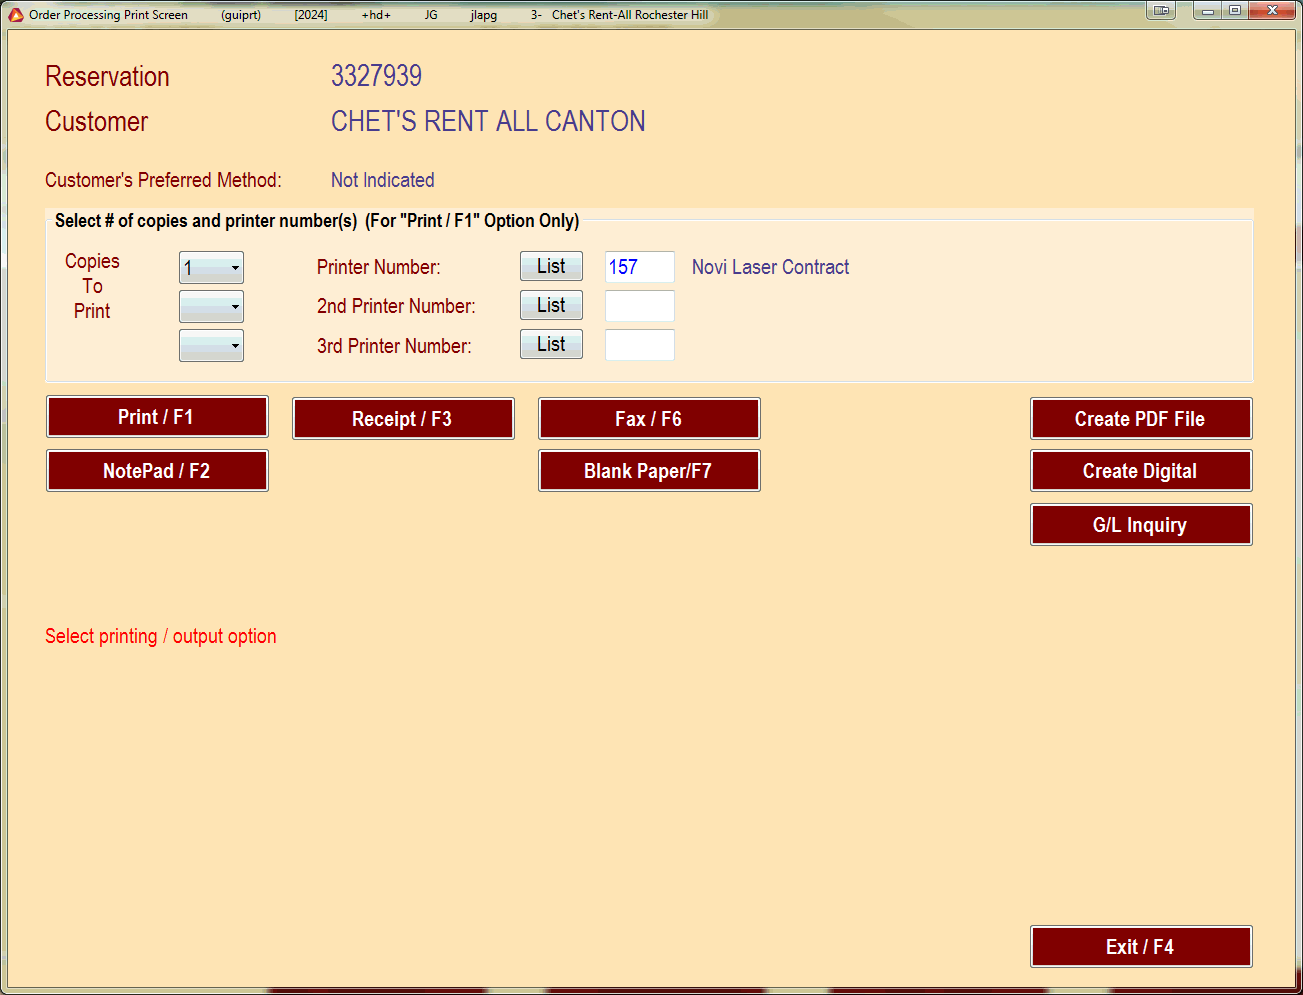
Now the process is complete, press the Exit/Save button.